
Star Shine
Hey ya'll....(you know how I like to whip the ya'll out once in awhile even though I'm not from the South). Happy Wednesday.
We had a nice night over at my parents celebrating Garrett's birthday. It was low key, there was big honkin' shrimp involved and of course the obligatory photos by Mom The Photographer.
Today we're back into holiday mode around here. I'm in the midst of reposting some of the tutorials that I've featured and Kristen, over on Milo and Molly is doing the same. So pop on over there, check out her digs and tell her I sent you.
This is one of my favorite tutorials and I'm still making new paper stars with paper I've designed myself.


They're always a big hit. In fact I have some Christmas orders for several that I need to get crackin' on.
So, without further ado, here's my original post from over a year ago with the paper star tutorial.
*****************************************************
I have to thank Cari-Jane from HyrbridHandmade for pinning an awesome paper star tutorial on pinterest. I love it and it looked so do-able, I tried it right away. Here's my own take on the tutorial that Cari-Jane pinned.
You'll need:
two pieces of square paper- you could use origami paper
(I used a 32 lb. printer paper)
scissors
glue
ruler
string, ribbon or twine
I printed off one of my illustration designs to use for my paper.

Then I trimmed it to 6 x 6 like the original tutorial, but you could use any square size.

Fold your paper in half.

Then fold in half the other way, so you now have folds on your paper like this.

Next step is to fold corner to corner.

Again, now fold from other corner to corner so you fold lines now look like this.

On lines coming from sides (not corners), make a just shy of halfway. On my 6 x 6 square, I marked at 1.25.

Continue until each side is marked, like this.

Cut along line to each mark.

Once lines are cut, fold over to line coming from corner.

Do this all the way around until your paper looks like this.

Now glue one flap at each 'star' point, and pull other flap over and hold until glue is set.

Choose one point to insert twine in before completing all sides.

Complete rest of points.

You now should have a 3 dimesional star that looks like this on one side.........

........and this on the other.

Repeat this process, except for the twine, to make another star. Once you have two stars you are going to glue together. Place glue like this.

Gently press two stars together and hold in place until glue sets.

Wait 10 minutes before hanging to be sure glue is set enough.

Decorate with your new star as you see fit.
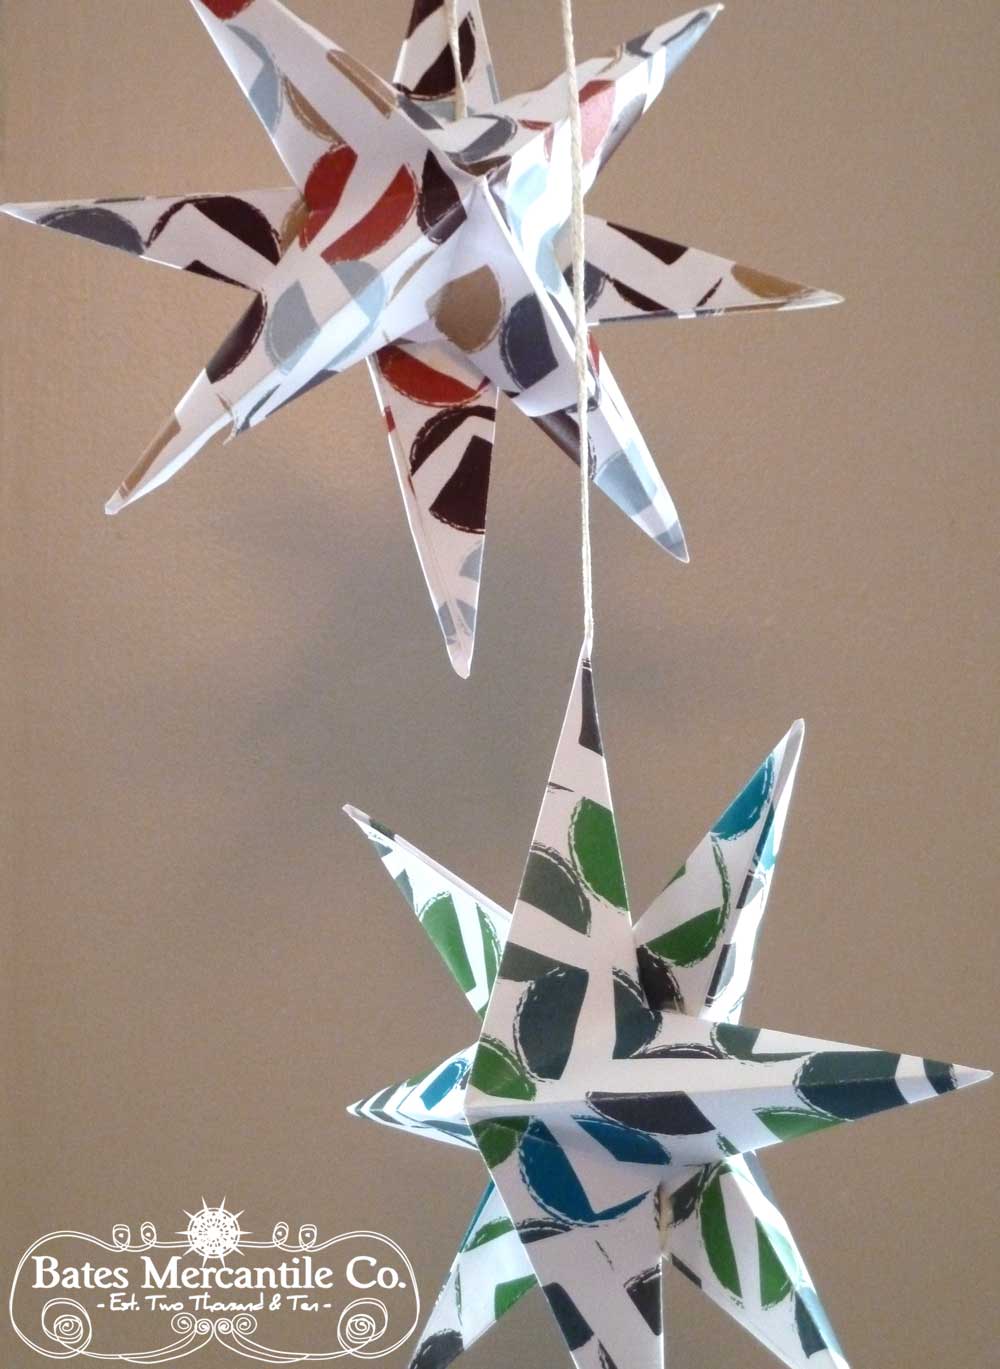
Hang a lone star or...................

.......hang in a grouping.

I think this is the perfect craft with the holidays coming up. I've adjusted my Chinese Lantern pattern an 8x8 size so most people can easily print it out on 8.5 x 11 paper to use for this project. I would have tried the 8x8, but was trying to follow original tutorial. I did use a little bit heaver 32 lb. paper, but you could certainly try it with regular copy pape. I think by the time the stars are folded and glued, it would have enough stability.
Click below and right click to save to your computer or copy and paste into a document.

I would have tried the 8x8 paper design, but was doing my best to follow original tutorial to a T. FYI- I did use a little bit heavier 32 lb. printer paper, but you could certainly try it with regular printer paper. I think by the time the stars are folded and glued, it would have enough stability.
What are you waiting for? Give it a try!
Ciao for now,

PS- Have you entered the December Giveaway yet? Just so you know, you could win over $215 worth of prizes from my awesome sponsors. As usual though.... you have to enter! So, go enter!

Lovely stars! If I'd been staying at home this year, would have given these a go. Off to daughter though, so will leave the decorations to her this year!
ReplyDeleteHave a good holiday, if I'm not here next week!
Hi Isobel, well....considering the year you've both had, I think it's nice that you're going to spend time at your daughter's. AND nice to leave the decorating up to someone else...sit back and just enjoy it.
DeleteHappy Christmas Isobel, may the next year be better than the last.
So cute! I don't have a star for on top of my tree so I might have to give this a shot!
ReplyDeleteGREAT idea! dang girl, you're always thinking.
DeleteThis looks fun, and I've always liked those stars! I think I will try with the kiddo over the Christmas break and see what we can accomplish! :)
ReplyDelete